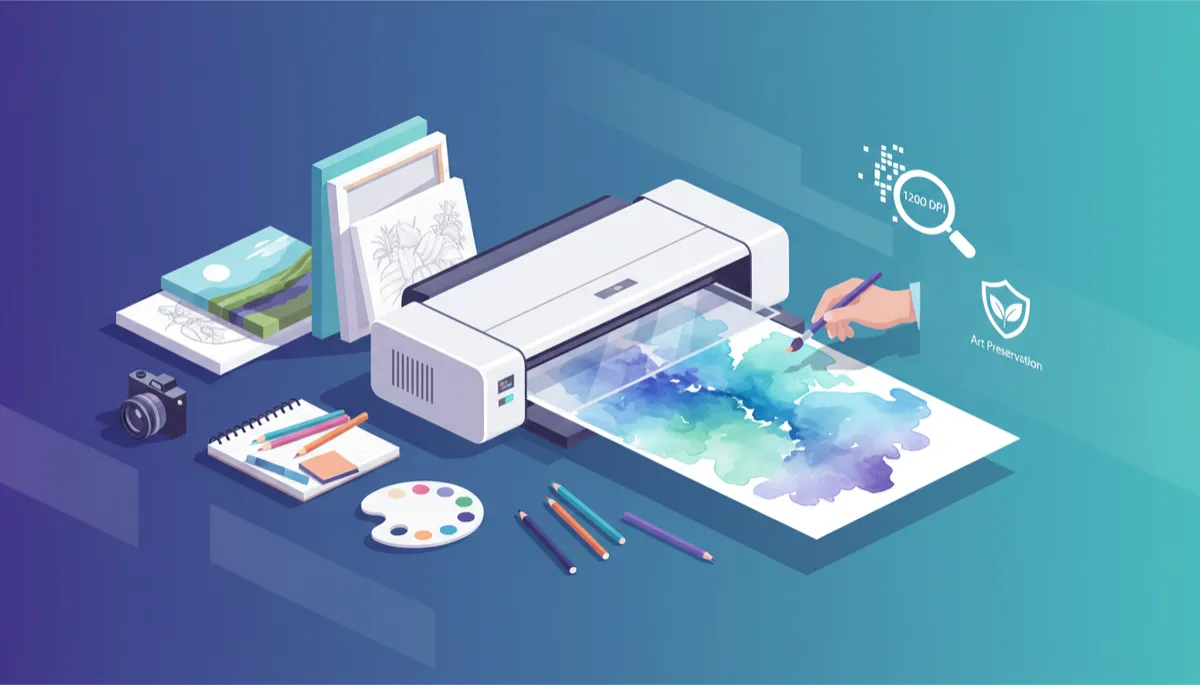
Guide to High-Quality Artwork Scanning
Artwork Scanning, Digital Reproduction, High-resolution Scanning, Art Preservation
How to Scan Artwork: A Friendly Guide to High-Quality Digital Reproduction
Turning your favorite paintings, drawings, and mixed-media pieces into crisp digital files doesn’t have to be intimidating. With the right tools, a little know-how, and careful quality control, you can create beautiful Digital Reproduction files that protect your originals and are ready to share, print, or archive. This guide walks you through the essentials of Artwork Scanning, from choosing a Flatbed Scanner and setting resolution to picking file formats and knowing when to call in professionals like USA IMAGING, Inc. in San Diego.
Why a Flatbed Scanner Is Your Artwork’s Best Friend
When it comes to Artwork Scanning, not all scanners are created equal. For paintings, drawings, collages, and photographs, a dedicated Flatbed Scanner is usually the safest and most accurate choice. Unlike sheet-fed scanners, which pull paper through rollers, a flatbed keeps your artwork completely still on a glass surface. That means:
No bending, curling, or jamming of delicate originals
Even contact with the glass for sharper, more consistent focus
Better handling of textured media like watercolor paper or canvas board
A quality flatbed designed for High-resolution Scanning will capture fine pencil lines, subtle brushwork, and paper texture with impressive clarity. This is essential if you plan to make prints, create a portfolio, or simply want a faithful Digital Reproduction for long-term Art Preservation.
Choosing the Right Resolution: 300, 600, or 1200 DPI?
Resolution is measured in DPI (dots per inch), and it has a huge impact on the detail and flexibility of your scanned artwork. As a general rule, it’s better to scan a little higher than you think you need, especially when preserving originals you may not be able to rescan easily. Here’s a friendly breakdown of the most common settings:
300 DPI: Ideal for everyday viewing, web sharing, and standard-size prints at the same size as the original. If you’re scanning a simple poster or a piece you’ll only view on screens, 300 DPI can be enough.
600 DPI: A sweet spot for most Digital Reproduction work. At 600 DPI, you capture finer details and give yourself room to crop or make slightly larger prints without losing quality. Many artists choose 600 DPI for portfolios and print-ready files.
1200 DPI: Best for highly detailed line art, etchings, or small originals that may be printed larger later. This level of High-resolution Scanning creates larger file sizes, but it also preserves incredibly subtle details that lower resolutions might miss.
💡 Friendly Tip: If you’re unsure, scan once at 600 DPI or 1200 DPI and save a master file. You can always create smaller versions later, but you can’t easily add detail back in if you start too low.
Don’t Forget Color: Why Color Scanning Matters So Much
Color is often the heart of a piece of art, so it deserves special attention. Even if your artwork is mostly black and white, color scanning can capture subtle warm or cool tones in the paper, pencil, or ink that give the piece character. A good scanner, paired with proper color settings, helps you:
Preserve accurate hues in watercolor, acrylic, and oil paintings
Maintain smooth gradients in colored pencil or marker work
Avoid muddy or washed-out areas that can appear with poor color capture
For most artwork, choose “Color” or “24-bit color” mode in your scanning software. Avoid grayscale unless you are working with strictly black ink or pencil and are certain you do not want any color information preserved. Accurate color is a key part of professional Art Preservation and helps your digital version feel true to the original.
Picking the Best File Format: TIFF, JPEG, or PDF?
Once your artwork is scanned, the file format you choose will influence quality, flexibility, and file size. There’s no single “right” answer, but here’s how the most common formats stack up for Artwork Scanning and Digital Reproduction:
TIFF (Tagged Image File Format): A favorite for archiving and professional printing. TIFF files can be uncompressed or use lossless compression, which means you keep every bit of detail your scanner captured. They’re larger in size but excellent for master files and serious Art Preservation.
JPEG (JPG): Great for sharing online, emailing, or posting on social media. JPEG uses lossy compression, which reduces file size but can slightly soften details, especially if repeatedly edited and resaved. Use high-quality settings when exporting to JPEG to keep your artwork looking its best.
PDF: Handy when you want to group multiple pages (like a portfolio or series) into a single, easy-to-open file. PDF is especially useful for sharing with clients, galleries, or print shops that expect multi-page documents.
💡 Friendly Tip: Many artists save a high-quality TIFF as their “master” file and then create JPEG and PDF versions for sharing and everyday use. This way, your original scan stays pristine.
Quality Control: The Secret Ingredient to Professional Results
Even the best scanner can’t guarantee perfect results without a little human attention. Quality control is where you slow down, review your scans, and make sure they truly represent your artwork. Here are a few simple checks that make a big difference:
Check for dust and smudges: Before scanning, gently clean the scanner glass and make sure there’s no debris on your artwork. After scanning, zoom in to look for specks or streaks that might need retouching or a rescan.
Verify color accuracy: Compare your screen to the original artwork in good, neutral lighting. If the scan looks too warm, cool, dark, or bright, adjust color balance and levels carefully, or rescan with improved settings.
Inspect edges and cropping: Make sure nothing important has been cut off and that your artwork is straight, not tilted.
This kind of careful review is standard practice for professional scanning providers like USA IMAGING, Inc., and it’s a habit you can adopt at home as well. A little extra time spent on quality control turns a basic scan into a polished Digital Reproduction you’ll be proud to use and share.
Protecting Your Originals While Building a Digital Archive
One of the biggest benefits of High-resolution Scanning is peace of mind. Originals can fade, tear, get lost, or suffer water or smoke damage. By creating a high-quality digital archive, you’re giving your artwork a second life that’s easier to back up, organize, and share with family, collectors, or clients.
Store your master files on at least two separate drives or cloud services.
Use clear, consistent file names and folders so you can quickly find each piece.
Keep your physical artwork in a safe, dry, and cool environment while relying on your digital copies for day-to-day viewing and sharing.
This balanced approach lets you enjoy your art without constantly handling fragile originals. It’s a smart, modern way to approach Art Preservation for both families and businesses in San Diego County and beyond.
When to Call in the Pros: USA IMAGING, Inc. in San Diego
While home scanners are great for smaller projects, sometimes you want the confidence and convenience of professional Artwork Scanning. That’s where USA IMAGING, Inc. comes in. Based in San Diego and trusted since 1991, USA IMAGING specializes in secure, precise scanning and digital conversion services for both businesses and families.
For artwork and photos, USA IMAGING offers professional flatbed High-resolution Scanning of originals up to approximately 15.5" × 22" at resolutions up to 1200 DPI. That means they can handle larger pieces with the kind of detail that’s perfect for archival, reprints, and long-term Digital Reproduction. Their team is detail-oriented and customer-focused, applying the same care they bring to sensitive document work—where confidentiality, accuracy, and security are essential—to your personal or professional artwork collections.
📌 Key Takeaway: If you have cherished family pieces, valuable originals, or a large batch of artwork you want digitized correctly the first time, partnering with USA IMAGING, Inc. can save you time and give you professional-grade results.
Bringing It All Together: Your Next Steps
Scanning artwork doesn’t have to be overwhelming. With a reliable Flatbed Scanner, thoughtful resolution choices (300, 600, or 1200 DPI), careful color scanning, and the right file formats (TIFF, JPEG, and PDF), you can create digital versions that honor the spirit and detail of your originals. Add in consistent quality control and a smart digital archive, and you’ll be well on your way to lasting Art Preservation.
Whether you’re an artist building a portfolio, a family preserving heirlooms, or a local business organizing visual records, high-quality Artwork Scanning is an investment in your creative history. If you’d like friendly, professional help with High-resolution Scanning in the San Diego area, USA IMAGING, Inc. is ready to assist with secure handling, accurate color, and meticulous attention to detail—right up to 1200 DPI and 15.5" × 22" originals.
Ready to give your artwork the digital treatment it deserves? Reach out to USA IMAGING, Inc. today to Get a Quote and start building a high-quality digital archive you can rely on for years to come.


